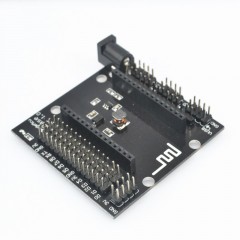
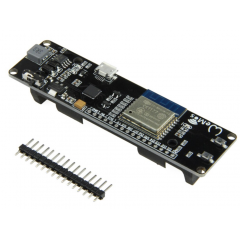
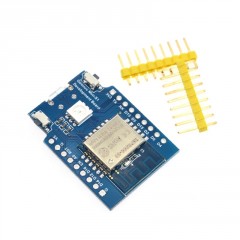
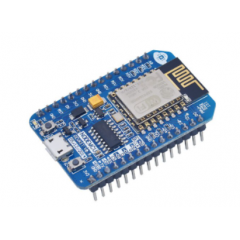
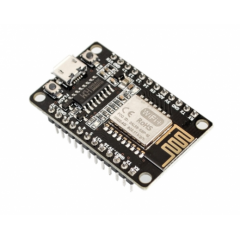
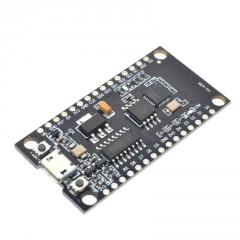
Más
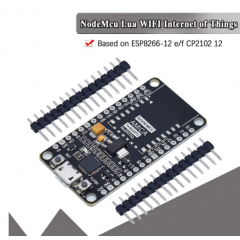
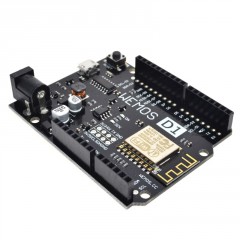
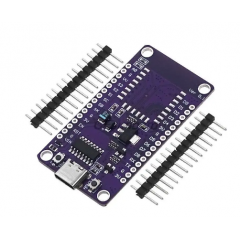
Especificaciones
| Microcontroller | ATmega328 |
| IC Wi-Fi | ESP8266 |
| USB-TTL converter | CH340G |
| Power Out | 5V-800mA |
| Power IN. USB | 5V (500mA max.) |
| Power IN. VIN/DC Jack | 9-24V |
| Power Consumption | 5V 800mA |
| Logic Level | 5V |
| Wifi | Wi-Fi 802.11 b/g/n 2.4 GHz |
| USB | Micro USB (No incluye cable) |
| Clock Frequency | 16MHz |
| Operating Supply Voltage | 5V |
| Digital I/O | 14 |
| Analog I/O | 6 |
| Memory Size | 32Mb |
| Interface Type | serialOTA |
| Operating temperature | −40С°/+125С° |
| Length×Width | 53.34×68.58mm |
| Weight | 8 |
| antenna | Buil-inexternal antenna |
Descripcion

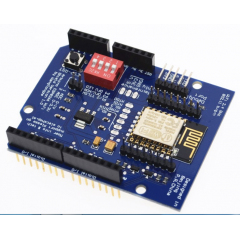
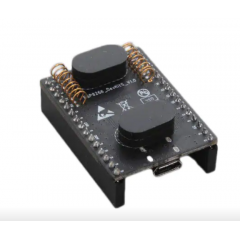
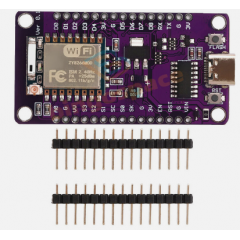
Posicion de switchs y selección de modo:
|
|
1 |
2 |
3 |
4 |
5 |
6 |
7 |
8 |
|
CH340 connect to ESP8266 (upload sketch) |
OFF |
OFF |
OFF |
OFF |
ON |
ON |
ON |
NoUSE |
|
CH340 connect to ESP8266 (connect) |
OFF |
OFF |
OFF |
OFF |
ON |
ON |
OFF |
NoUSE |
|
CH340 connect to ATmega328 (upload sketch) |
OFF |
OFF |
ON |
ON |
OFF |
OFF |
OFF |
NoUSE |
|
Mega328+ESP8266 |
ON |
ON |
OFF |
OFF |
OFF |
OFF |
OFF |
NoUSE |
|
All modules work independent |
OFF |
OFF |
OFF |
OFF |
OFF |
OFF |
OFF |
NoUSE |
After choosing the mode of the board can proceed to setting up the IDE
It is important that when the ESP8266 module is programming, it is necessary to press the button “ESP Reboot”

To begin open the Arduino IDE programming environment and go to settings

Then in the window that appears in the row Additional Boards Manager URLs (marked in red) insert http://arduino.esp8266.com/stable/package_esp8266com_index.json link for installation in Arduino IDE additional scripts that would work with the modules ESP8266, and click OK

Then go to the Tools> Board> Boards Manager

In the window that appears, scroll through the list down to the script esp8266 by ESP8266 Community and click.

In the lower right corner will be able to select the version of the software, select the version 2.1.0 (the newest) and click the Install button

After installation, close the window and go to Tools> Board and see the list of available devices on the chip programming ESP8266

Next, you need to select the card as shown in the picture (Generic ESP8266 module)

Select the upload speed - 115200

==========test sketch===========
void setup()
{ Serial.begin(115200);
pinMode(14,OUTPUT);
delay(500);
Serial.println("AT+CIPMUX=1");
delay(2000);
Serial.println("AT+CIPSERVER=1,5000");
delay(2000);
Serial.println("AT+CIPSTO=3600");
delay(2000); }
void loop()
{ while(Serial.available())
{ char Rdata;
Rdata=Serial.read();
if(Rdata=='A'|Rdata=='a')
{ digitalWrite(14,HIGH);
delay(50); }
else if(Rdata=='B'|Rdata=='b')
{ digitalWrite(14,LOW);
delay(10);
digitalWrite(14,HIGH);
delay(10);
digitalWrite(14,LOW); }
else
{ digitalWrite(14,LOW); } } }
25 productos más en la misma categoría:
-
Base Desarrollo Lua Esp8266...
-
Uno R3 Shield Web Server Esp8266...
-
Nodo Telemetria Wifi Wemos...
-
Adaptador Modulo Esp8266 Serial...
-
Goouuu-s1 Nodemcu Esp8266 Wifi...
-
Nodemcu Lua Blue V3 Ch340g Wifi...
-

Shield Wemos D1 R1 Wifi Esp-12f...
-
Esp8285 Nodemcu V3 Usb Wifi Itytarg
-
Nodemcu Lua V3 Ch340g Wifi...
-
Nodemcu Cp2102 Amica Wifi...
-
Programador Esp8266 Esp-wroom-02...
-
Interfaz Usb Air602 W600 Modulo...
-
Web Server Uno Shield Wfi...
-
Adaptador Esp01 Esp-01 Esp01s...
-
Wifi Micropython Maker Esp8266...
-

Esp8266 Wifi Esp01 Esp-01 Esp01s...
-
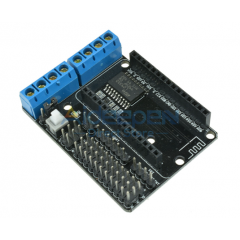
Esp8266 Wifi Expansión L293d...
-
Nodemcu Lua Cp2102 Wifi...
-
Shield Wemos D1 R2 Wifi Esp-12f...
-
Programdor Y Placa Desarrollo...
-
Nodemcu Lua V3 Ch340g Wifi...
-
Programdor Esp8266 Wifi...
-
Modulo Adaptador Esp8266 Usb...
-
Placa Desarrollo Esp07 Esp8266...
-
Placa Desarrollo Esp07s Esp8266...
-

Mejor Precio Garantizado
En nuestra tienda encontrará los mejores precios.
-

Soporte
Por cualquier duda, puede comunicarse con nosotros.
-

Ofertas
Acceda a las mejores ofertas en nuestros productos.